Add a carrier account
Every carrier in Carriyo follows the same shape: a short wizard collects the basics and your credentials, then the account opens to a settings page where you tune labels, permissions, and behaviour. The credentials and carrier-specific options differ per carrier — those live on each carrier's own setup page. Everything else is the same for all 100+ carriers, and is documented here.
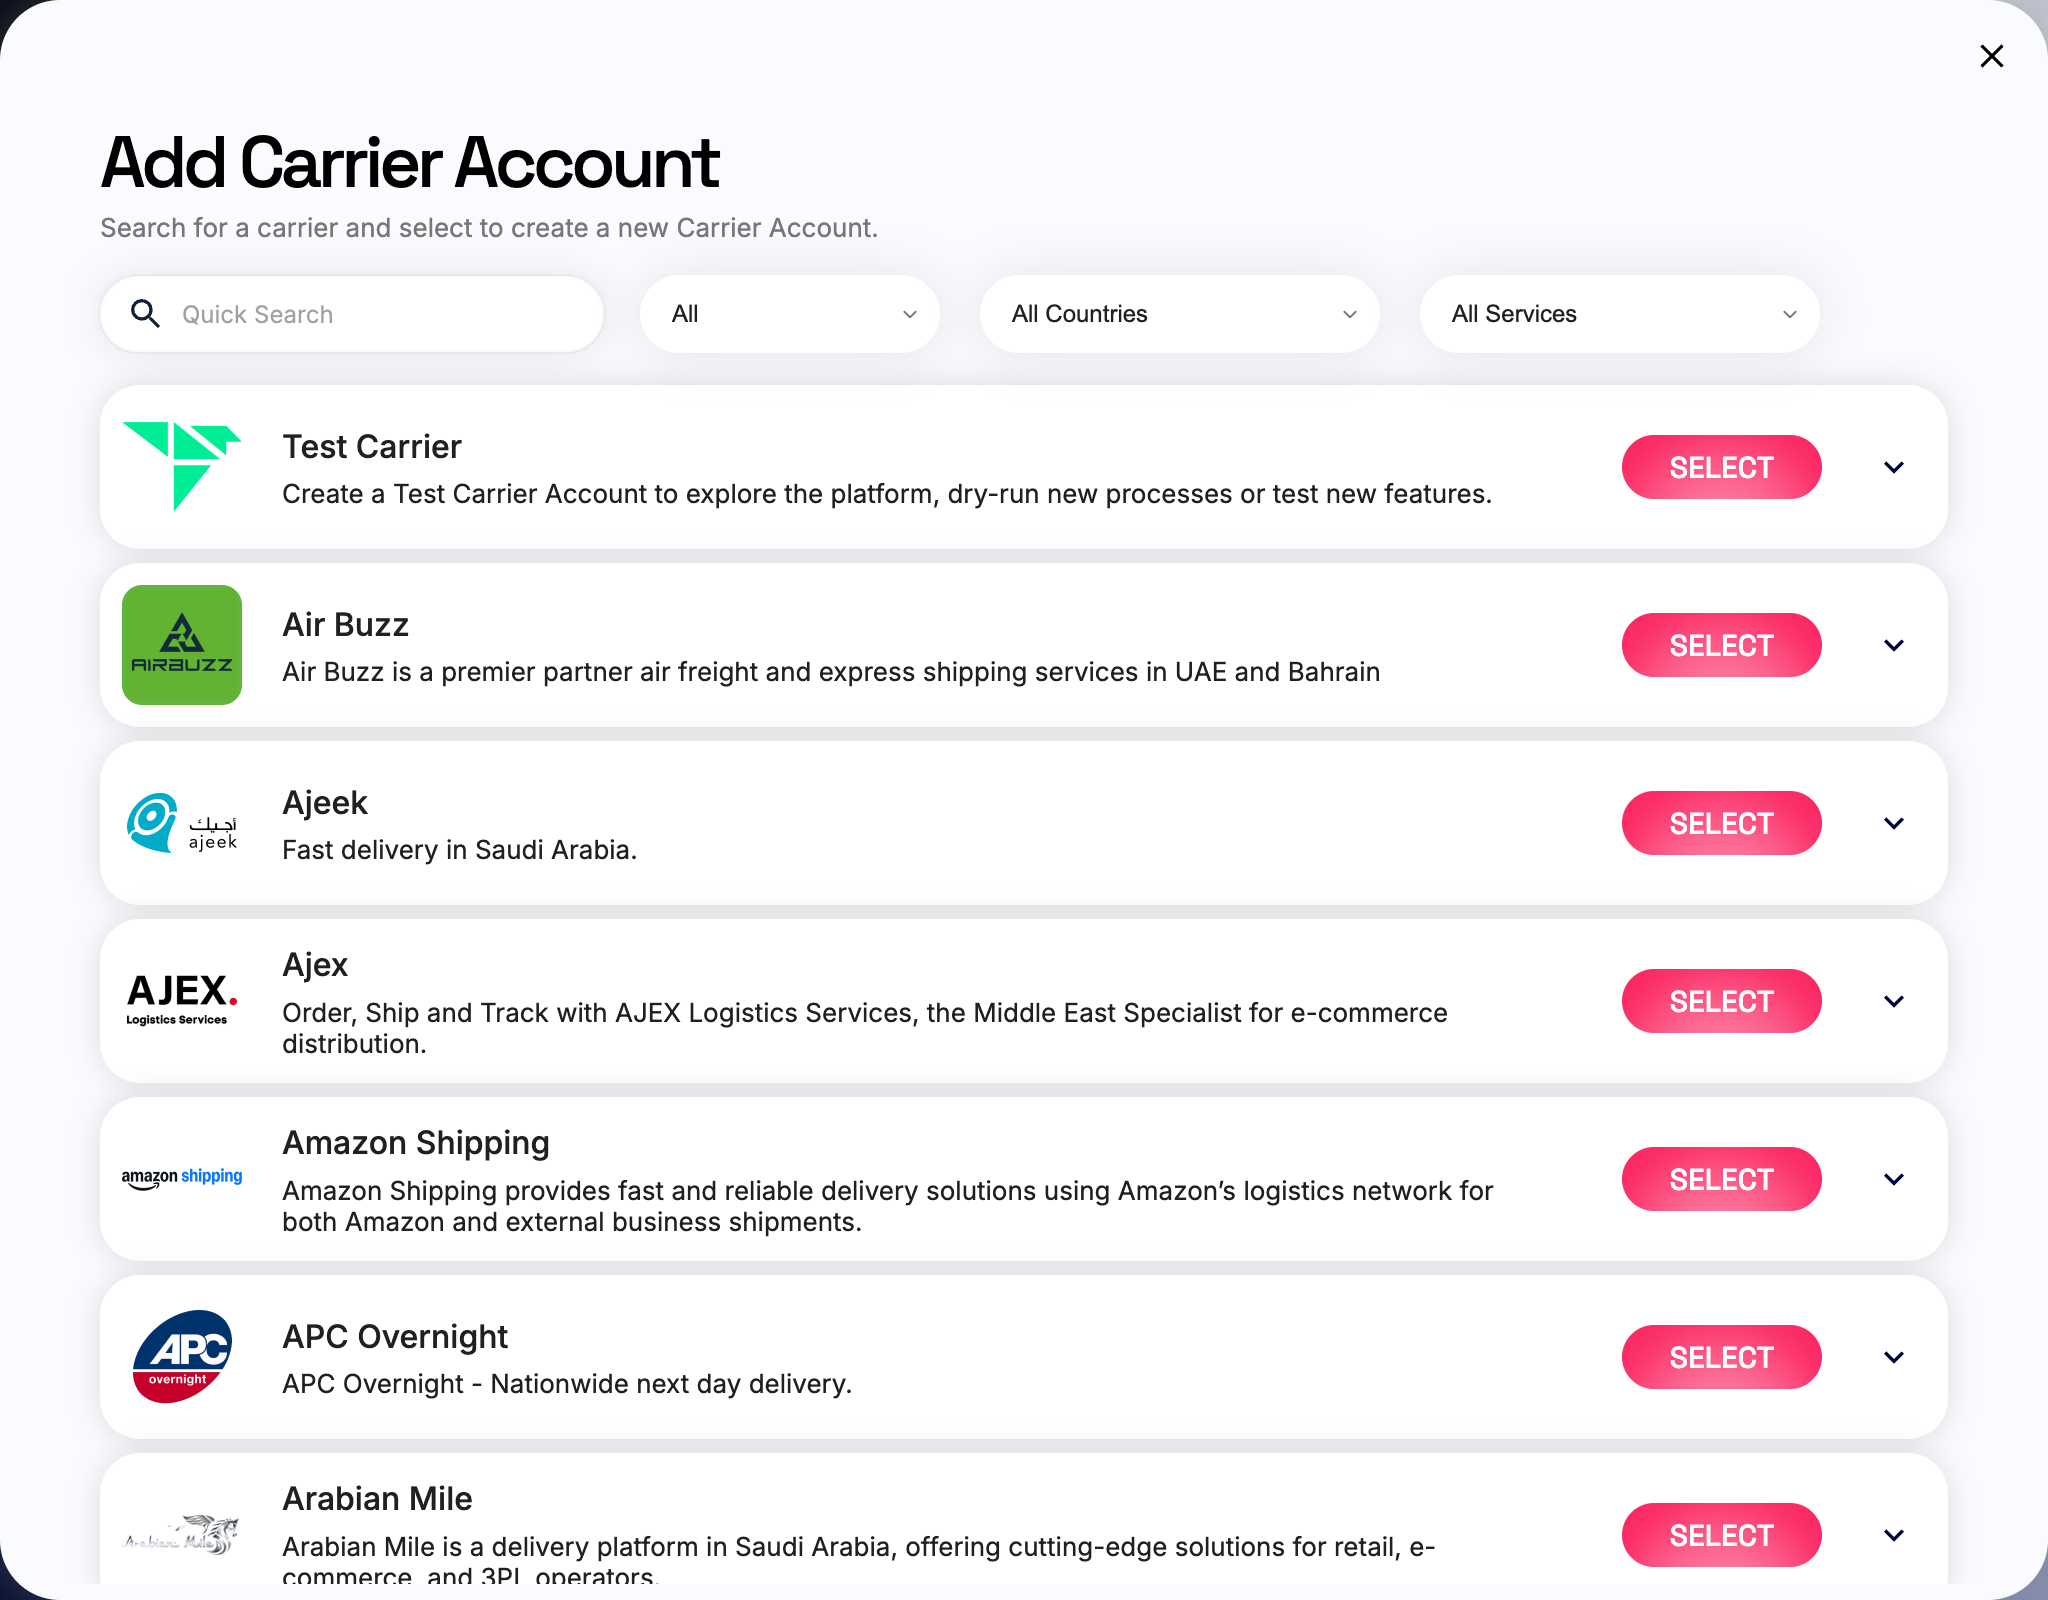
Find your carrier
Start on your carrier's setup page — it lists the exact credentials and fields that carrier needs, with real screenshots of its wizard. Search or browse the full list in the carrier directory.
Don't see a dedicated page yet? We're rolling them out for all 100+ connectors. The wizard works the same way regardless — your carrier rep tells you which credentials Carriyo needs, and the shared settings below apply to every carrier. For private fleets or carriers without a built-in connector, see Add a custom carrier instead.
How the wizard works
Adding any carrier follows the same steps:
- Settings → Carrier Accounts → +
- Pick the carrier from the searchable picker (type to filter the 100+ connectors)
- Walk the wizard (basics, then credentials, clicking Next)
- Go to Account on the finish screen
- Tune the Account Setup tab — the settings below
- (Multi-merchant tenants) Grant merchant access on the Permissions tab
- Save
The rest of this page covers steps 5–7 — the account settings shared by every carrier.
What's on the Account Setup tab
Carrier Account is Active. Toggle in the header. Must be on for routing to consider this account. Defaults to on; toggling off pauses without deleting.
Live Connector. Sandbox by default. Flip to live after you've smoke-tested.
Account Country and Account Currency. Required; both affect rate calculations and settlement.
Auto Mark as Ready-to-Ship. Auto-advances booked shipments. Useful where booking is readiness. Avoid for carriers with scheduled daily collections; each shipment otherwise fires a redundant pickup request.
Carrier Shipping Rates. When on, calls the carrier's rate endpoint. When off, uses your costing profiles instead. Off for carriers without a usable rate API.
Default label
Picks the label format returned by default for shipments booked with this account.
Carriyo PDF/Carriyo ZPL. Universal, available for every carrier that supports the underlying data.Carrier PDF/Carrier ZPL. Labels generated by the carrier itself, where supported (DHL Express, Aramex, FedEx, etc.).Carrier QR Code. Available if the carrier supports QR-code-based labels; particularly relevant for reverse shipments (paperless customer returns).
Pick the format that matches your warehouse printers: A4 PDF for laser, ZPL for thermal, QR Code for paperless returns where supported. Carrier-specific label templates and sizes live in a dedicated section further down the account page.
Merchant access
Open the Permissions tab. Merchant Access controls which merchants can use this carrier account. Defaults to All Merchants (including any merchant added in future): every merchant in the tenant can use this account.
On multi-merchant tenants, switch to Select Merchants to restrict the account to specific merchants. This is the primary way to keep one merchant's carrier accounts separate from another's.
If your tenant has only one merchant, leave the default.
Real-time status updates
How shipment status (picked up, in transit, delivered) flows from the carrier back to Carriyo varies by carrier — each carrier's own setup page calls out which of these applies:
Carriyo registers the webhook automatically when the account is created. Nothing for you to do.
You share the Callback Settings block on the Account Setup tab with your carrier rep so they can register the webhook on their side.
Carrier doesn't push updates. Carriyo polls the carrier's tracking API on a schedule; updates take a little longer to appear.
Before going live
Smoke-test in sandbox before flipping Live Connector to on:
- Create a test shipment, assign this account.
- Confirm a label is generated.
- Confirm a tracking number returns.
- For webhook carriers, fire a test status callback and confirm it lands.
Common mistakes
- Live toggle on too early. Credentials were entered against the sandbox endpoint, first real shipment fails. Smoke-test first.
- Multiple accounts, no profile assignments. When you have several accounts for the same carrier (different services, regions), attach costing, capacity, and network profiles to disambiguate them at routing time. See Manage account assignments.
- Picking a carrier you don't have a contract with. The picker shows every supported connector. The wizard happily accepts credentials, but the first shipment fails at the carrier's side.